Short answer: yes. People do it every weekend, at kitchen tables, with shrink plastic, resin, and a fair amount of patience.
Longer answer: it depends what you mean by "make." Three very different activities all get called making your own enamel pins, and they end in three very different objects. One is a craft project. One is a side business. One is a product that can sit on a shop shelf next to something from a museum.
Worth knowing which one you're signing up for before you order the resin.
DIY at home. You make the body and fill the colour yourself. Shrink plastic, polymer clay, resin in a bezel, or enamel paint dropped into blank pins.
Semi-DIY. You buy blanks and finish them, or you design the artwork and hand production to a print-on-demand platform. Someone else owns the tooling.
Custom manufacturing. Your artwork, a steel die cut for your shape, metal struck and plated, colour filled by hand. This is what most people actually mean when they search "custom enamel pins" — they just don't know it yet.
Quite a lot, and none of it is embarrassing. We've seen beautiful pins made on kitchen tables.
Shrink plastic. Print or draw your design, bake it, dome it with resin or gloss medium, glue on a pin back. Cheap, fast, and it looks handmade, which is sometimes exactly the point. The weak points are the edges and the glue: both fail eventually, usually on the same day.
Polymer clay. Sculpt, bake, glaze, attach a back. Best option if your design is dimensional, a creature or a shape with real depth. Heavy for its size, and thin protrusions snap.
Resin in a bezel or open frame. Crisp colour and a glassy top. Watch for bubbles, and expect gradual yellowing if you use a cheap resin in daylight.
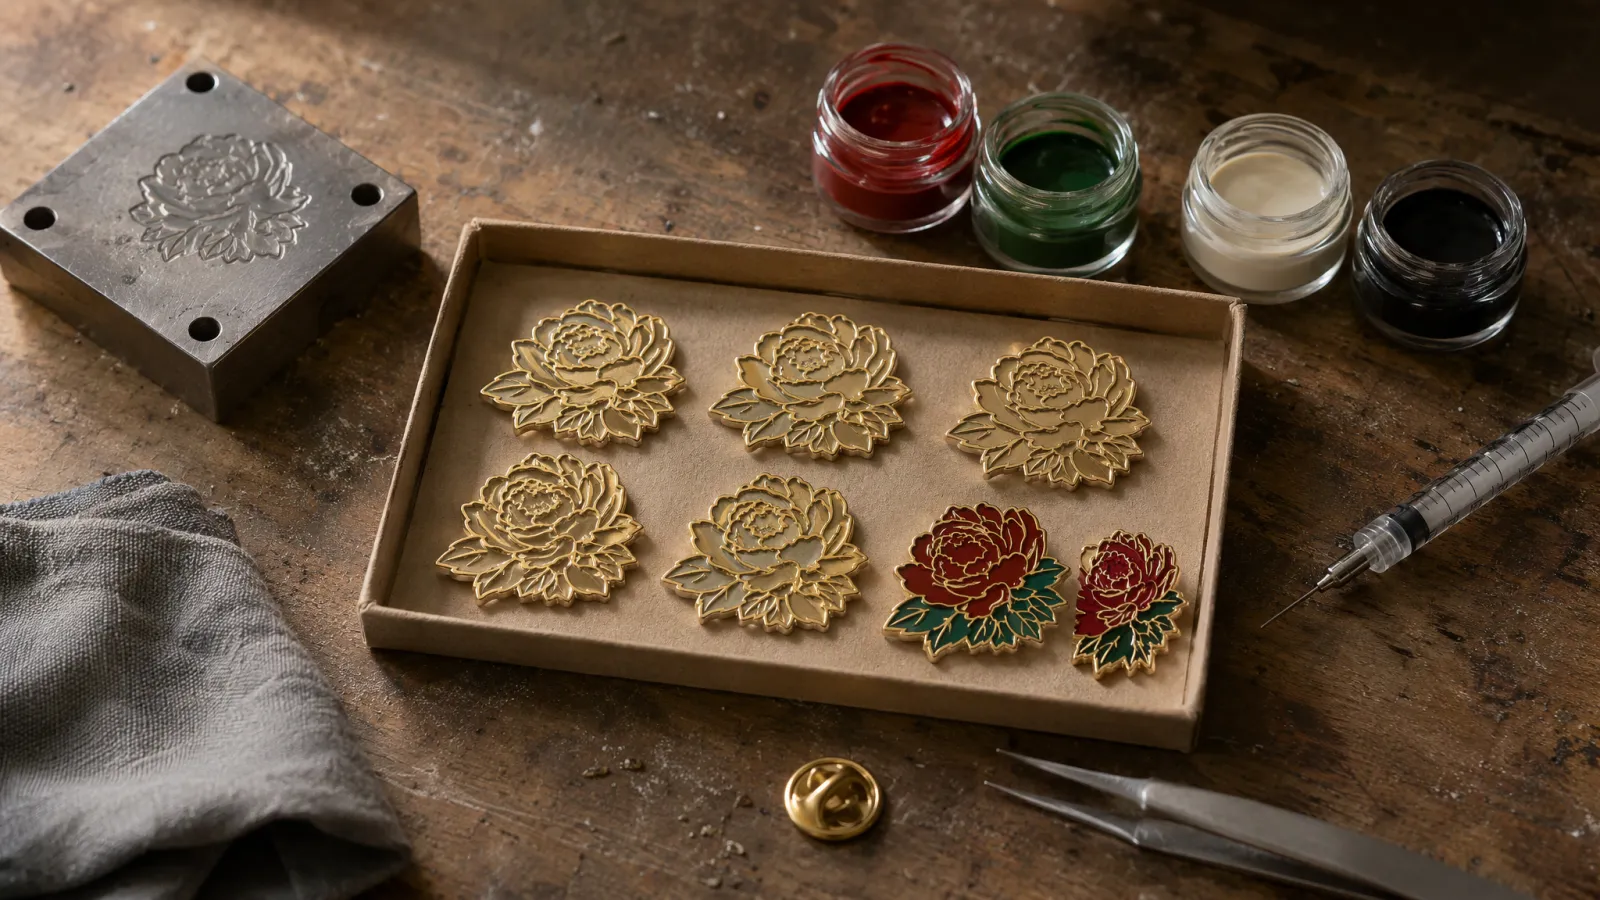
Blank metal pin plus enamel paint. The closest thing to the real product. You're buying die-struck blanks with recessed cells, then filling each cell by hand with a fine brush or a syringe and letting it cure. Tedious, but if you're patient the result is genuinely convincing. It's also the factory's colour-fill step, done at about a fiftieth of the speed.
A button maker. Worth mentioning because people conflate them. A button press makes pinback buttons: a printed paper disc under a plastic film over a metal shell. Different product, different feel, much cheaper per unit.
Now the honest limits. Home-made pins are not plated, and plating is a large part of why a pin looks expensive. Colours sit on a surface rather than inside metal walls, so they merge and blur where a factory pin would hold a hard edge. Water is the enemy of most of these methods: a rainy walk is survivable, a washing machine is not. And time doesn't scale. Twenty pins is a pleasant month of evenings. Two hundred is a second job you didn't apply for.
Strip it back and a custom enamel pin is four industrial processes stacked on top of each other:
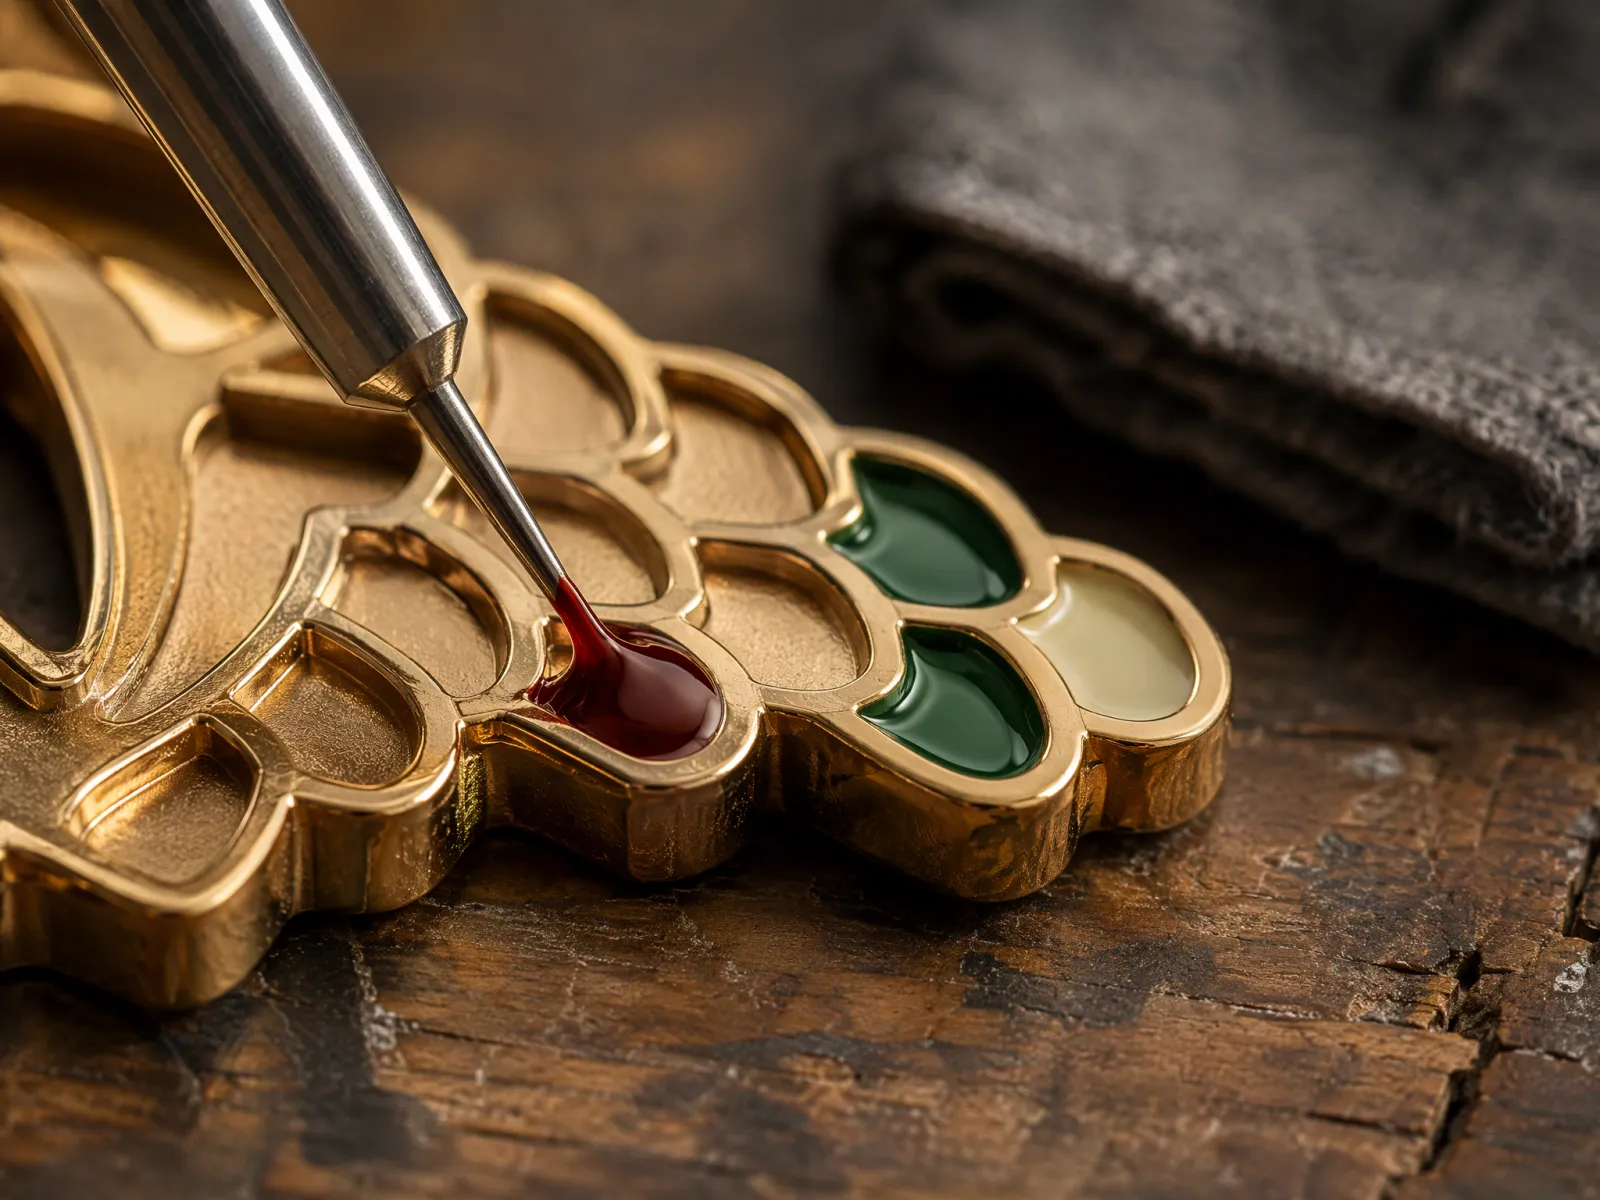
After that it splits two ways. Soft enamel keeps the colour recessed, so you can feel the ridges; it holds fine detail and costs less. Hard enamel gets polished flat and smooth. Traditionally that meant kiln-fired glass enamel, but a lot of what's sold as hard enamel today is polished resin. Both look good. Ask which one you're paying for, because the price difference is real.
Then: attachment welded on, quality check, backing card, poly bag.
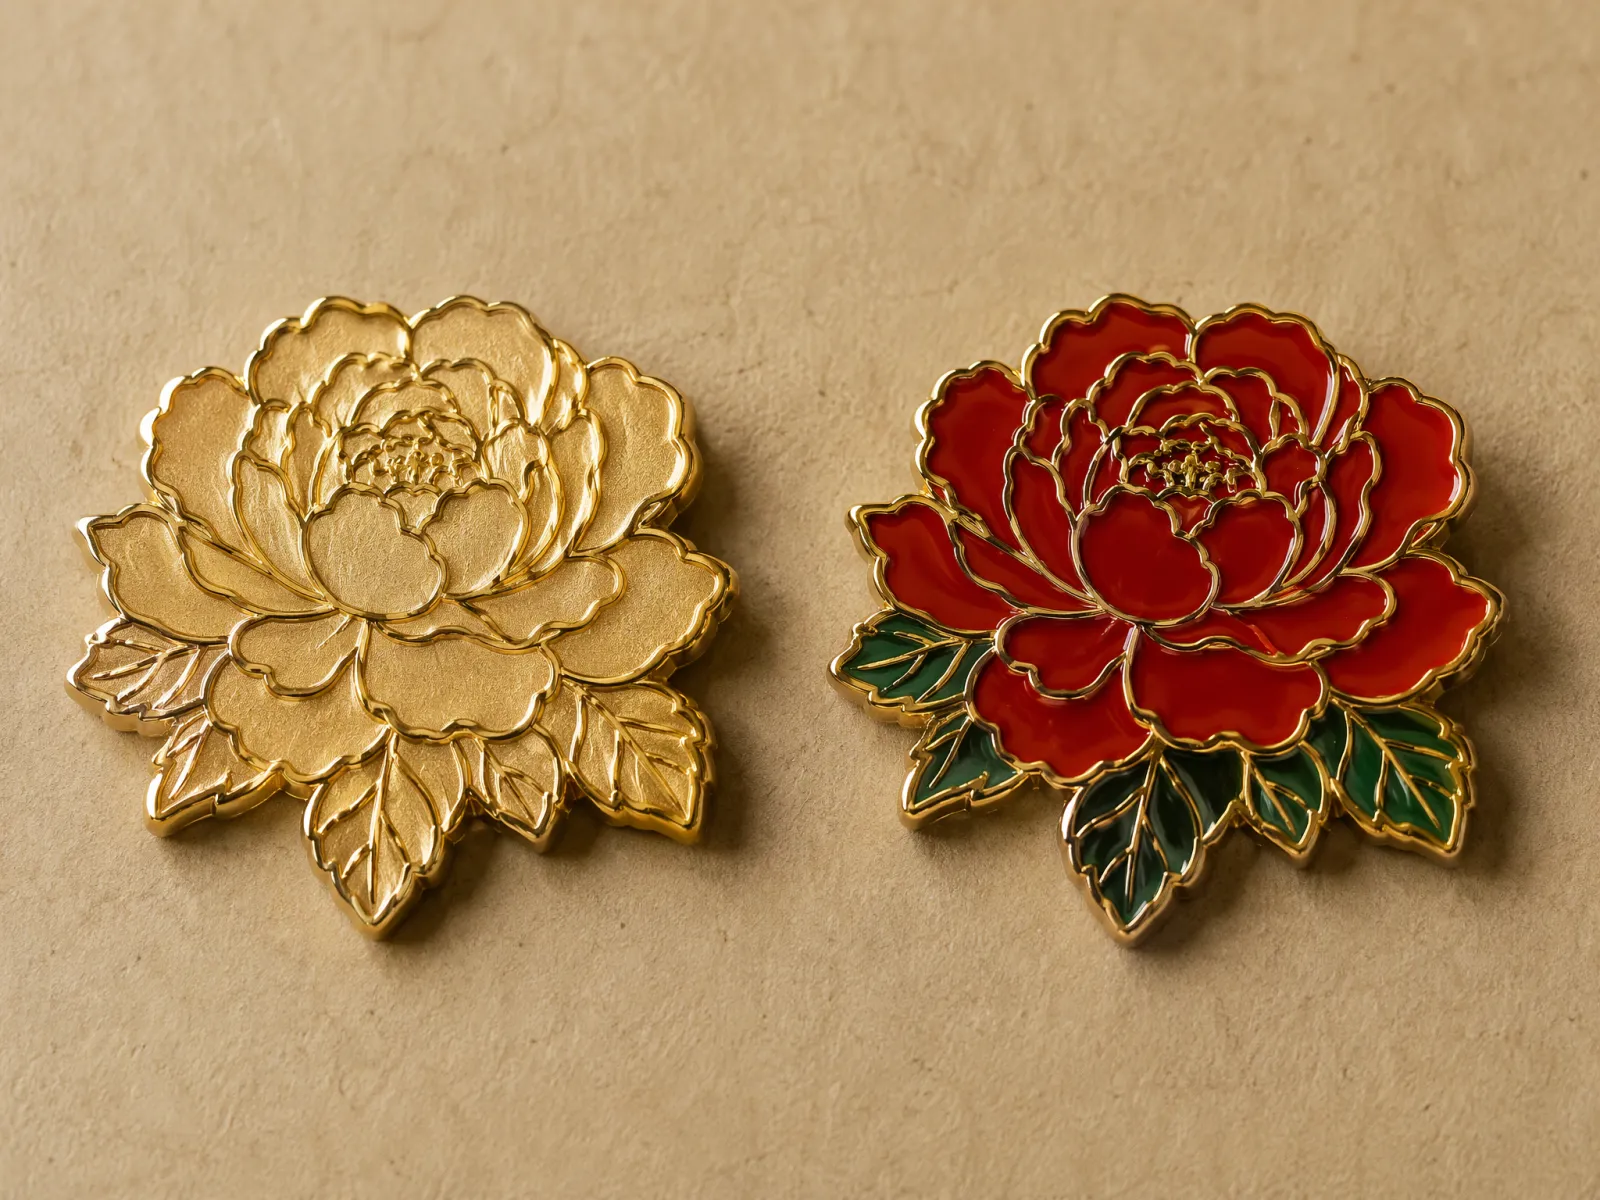
You can't do steps one to three in a kitchen. That's the whole reason factories exist, and it's not a conspiracy.
It isn't the manufacturing. It's the artwork.
Almost every design we receive for the first time needs work, and the fixes are predictable:
Then the sequence: digital mockup, physical sample, your approval, production. Skipping the sample is the most expensive shortcut available to you.
| Home DIY | Semi-DIY (blanks / POD) | Custom factory run | |
|---|---|---|---|
| Best for | Gifts, prototypes, 1–20 pins | Testing a design, tiny batches | Selling, events, brands, 100+ |
| Cost per pin | Low for a few, high for many | Middle, no tooling upfront | Highest upfront (die), lowest per piece at volume |
| Look | Handmade, charming, uneven | Decent, generic finish | Plated metal, crisp cells |
| Durability | Days to months | Months | Years |
| Time to first pin | An evening | 1–3 weeks | About a week for a sample, then production |
| Scales? | No | A little | Yes |
The blunt version: DIY is a lovely answer to "can I make one of these?" and a bad answer to "can I sell two hundred of these?"
We'll say it plainly, because it's true: if you're making ten pins for a wedding, a club, a gift, or a prototype to photograph before you commit to tooling, do it at home. You'll learn more about your design in an evening than in a week of browsing suppliers, and you'll find out which details matter at actual size.
Selling at any volume. Needing two hundred pins that all look the same. Needing them to survive daily wear on a backpack. Or simply deciding your evenings are worth more than the savings.
We're Kunshan Standard Gifts. We make enamel and acrylic pins in our own facility in Suzhou, have been at it since 2018, and hold ISO 9001 certification along with GPSR and CE documentation. Die-striking, plating, hand colour fill, UV printing, precision die-cutting, epoxy dome coating and packing all happen in-house, which is why we can send a digital mockup before anything is cut and a physical sample before the run ships.
No minimum order. Quotes back within 12 working hours. A 1,000 to 5,000 piece soft enamel run usually takes 12 to 15 business days after artwork approval, with samples in about a week.
And if your design would be better as an acrylic pin, we'll say so. It's cheaper for you and it looks closer to what you drew. We'd rather sell you the right thing once than the wrong thing twice.
Send us the artwork and we'll tell you what it will look like at the size you're ordering. That conversation is free, and it has saved a lot of people a very expensive die.
Close, not identical. The realistic home route is buying die-struck blanks and hand-filling the cells with enamel paint. Done carefully it looks convincing. What you can't replicate at home is the plating, the crisp metal walls between colours, and the consistency across a hundred pieces.
For DIY, the cost is materials plus your time, and the time is the bigger number. For a custom run, it's a one-time die fee plus a per-piece price that falls as quantity rises, plus packaging and freight. Ask for a quote split into those four parts so you can see what changing the design actually costs.
Only if you want soft or hard enamel with plated metal, consistent colour, and enough of them to sell. For a handful of pins for yourself, no.
A resin pin is usually printed or poured and domed with resin; the colour sits on top. An enamel pin has colour sitting inside recessed cells in struck metal, separated by metal walls. Enamel holds a harder edge and lasts longer. Acrylic, our other line, is printed in full colour under a domed surface and handles gradients and tiny text that enamel can't.
